
Overview
Leading up to my Capstone II project, I aimed to brush up on my Arduino skills by recreating a nostalgic favorite: the arcade “Stacker” game. While rummaging through old parts, I stumbled upon a liquid crystal display (LCD) and was inspired to bring the game to life using my coding knowledge.
This project replicates the classic experience, complete with moving "blocks," a button, and a win-or-lose screen.
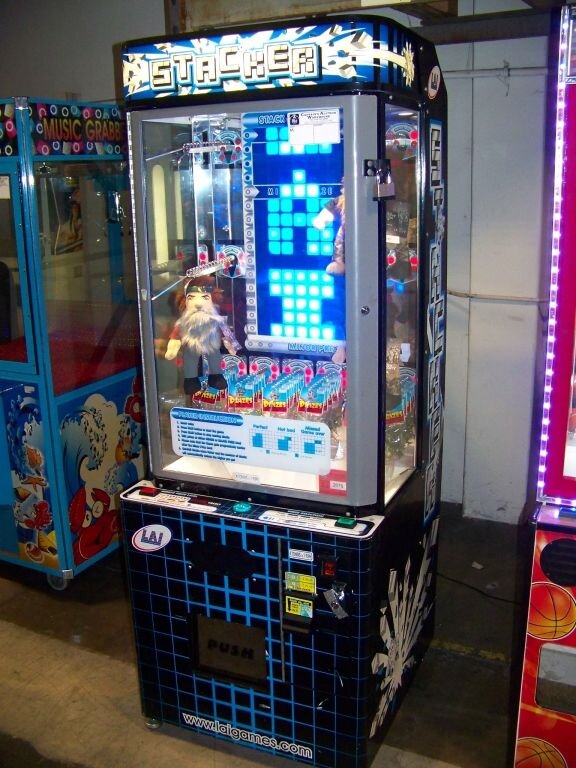
The arcade Stacker game that inspired my project.
Milestones
‣ Creating the “Block”
The 1602K LCD’s character set lacked anything resembling a block, so I created custom characters. By rotating the LCD, I worked with a 2x16 grid of 8x5 pixels. Although my initial plan involved blocks decreasing in size as the player missed, the LCD only supported eight custom characters. I adapted by designing six 2-pixel-wide blocks for reuse.
‣ Moving the Block Left and Right
To simulate motion, I looped the six characters across the grid, making the block bounce left and right until the player pressed the button. Fine-tuning the loops was key to creating smooth motion.
‣ Stacking the Block
Pressing the button at the right time “stacked” the block on the previous layer. I added an LED as a debugging aid and visual indicator. Using recursion, the display updated to show accumulated stacks.
‣ Enhancing Button Sensitivity
Initially, the button registered multiple presses or missed inputs altogether. By experimenting with delays and for-loop counts, I fine-tuned the responsiveness for a natural gameplay feel.
‣ Checking the Stack
To determine if the block was stacked correctly, I compared the new stack’s position to the previous layer using a boolean accumulator. I refined the criteria to handle edge cases, such as when blocks on opposite ends of the screen appeared aligned.
‣ End Screen
The game runs within a while-loop controlled by the "inPlay" condition. If the player stacks blocks perfectly to the top, the LCD displays a “Winner!” message. Otherwise, it shows “Try again!”

Lessons Learned & Skills Enhanced
Utilizing the LiquidCrystal library
Integrating buttons, LCDs, and LEDs
Coding with recursion and fine-tuning delays
Wire management with attention to aesthetics
Improvements
3D-printed housing: To improve presentation and durability.
Wire organization: Compact layouts for better functionality and aesthetics.