Overview
Class: GE 5030 Iterative Product Prototyping for Engineers Project #4
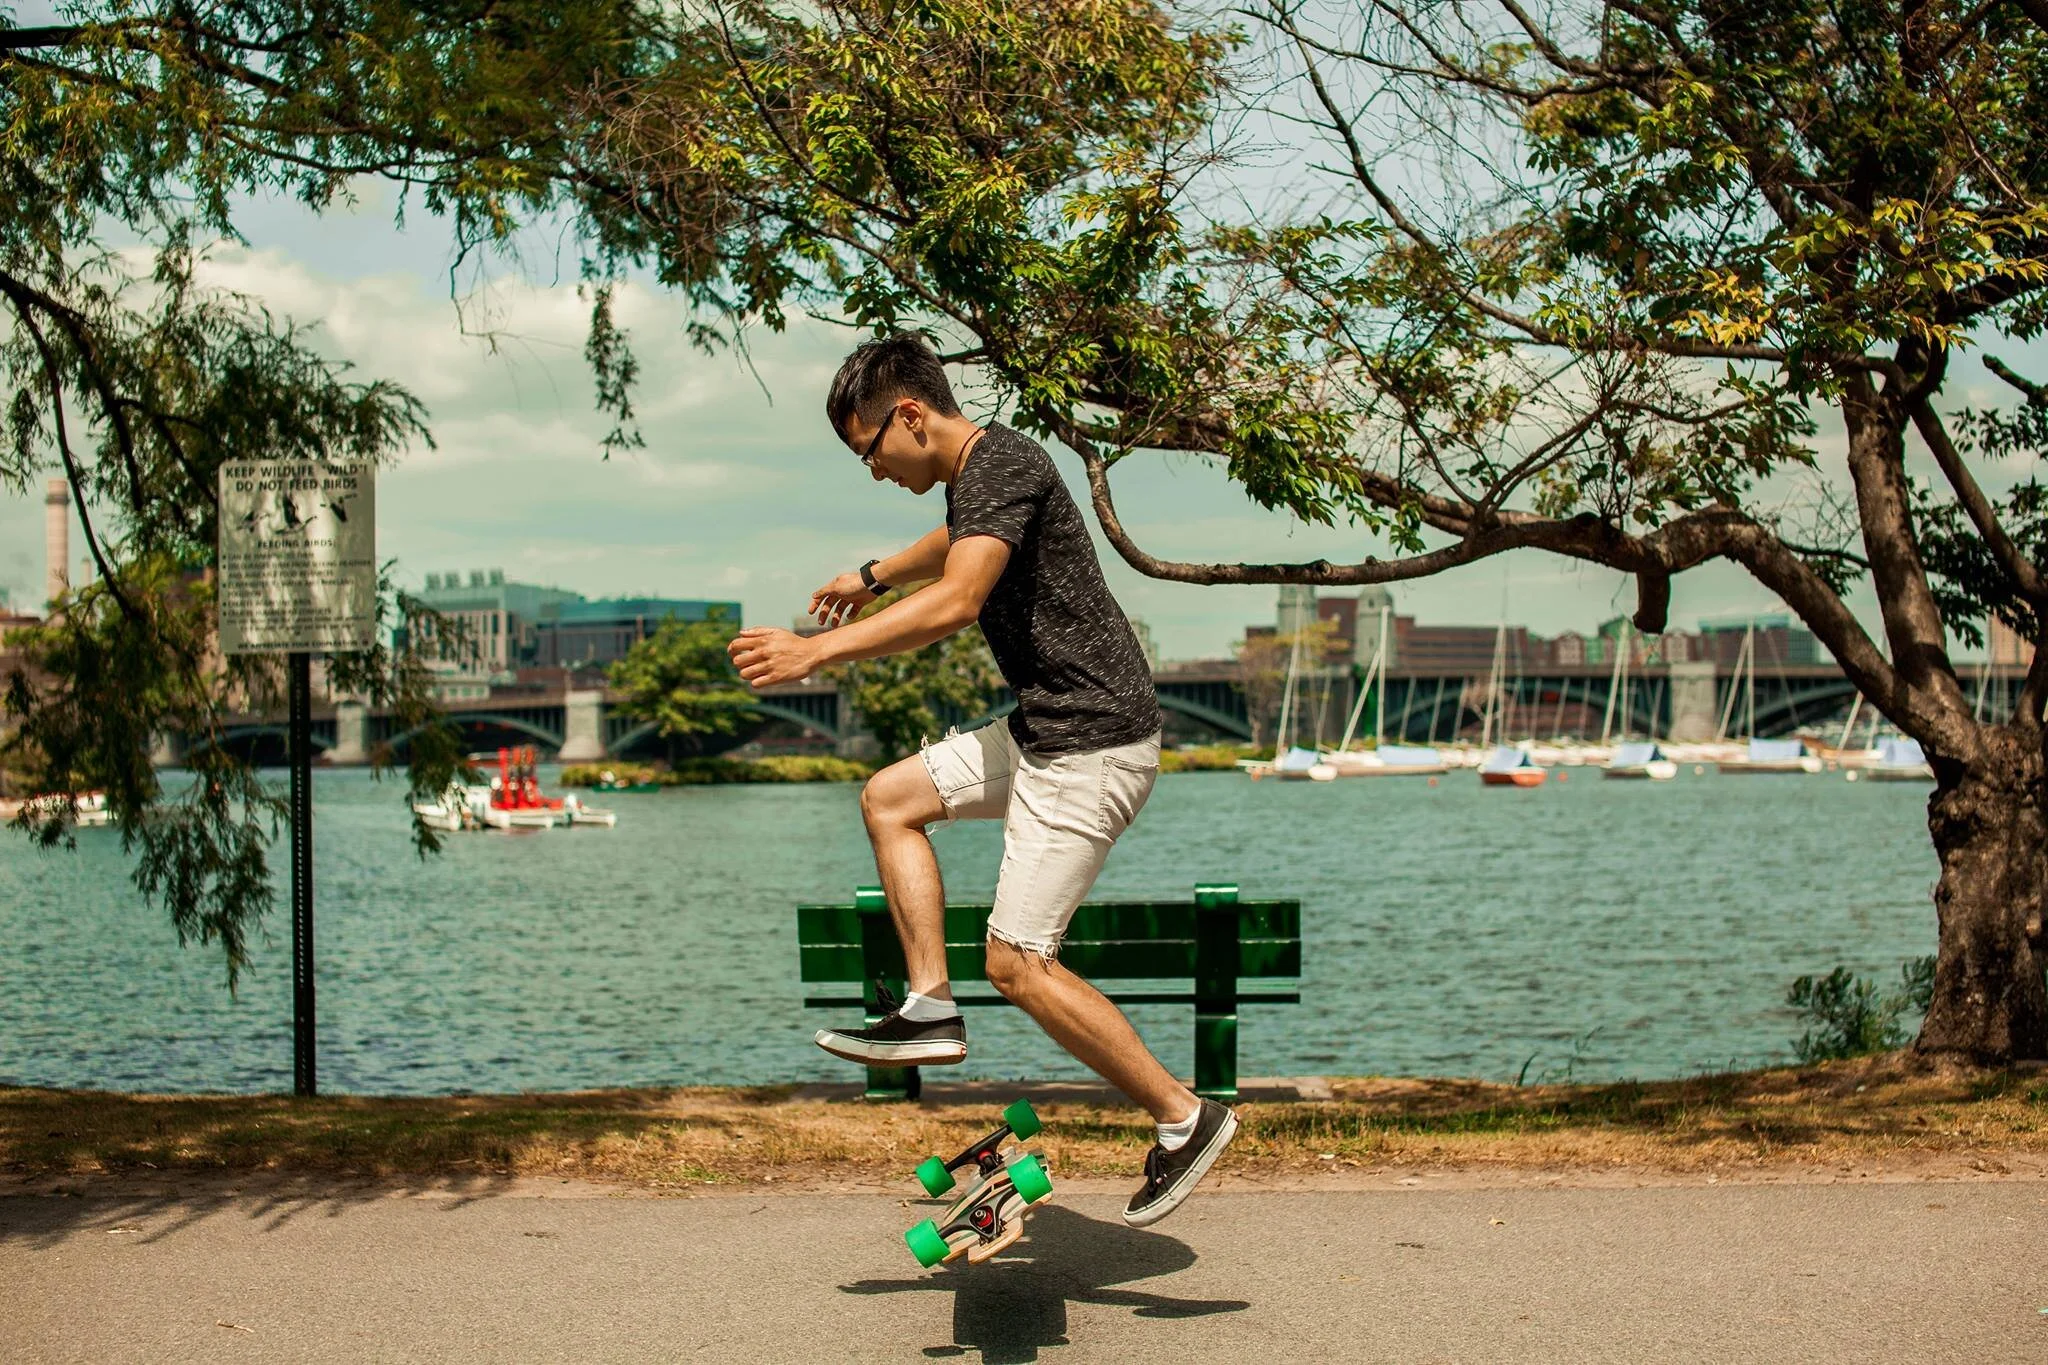
For my final project, I had the freedom to create any product idea I wanted with 3 iterations. Something I had always wanted to make was a headlight attachment for my longboard. The idea came up as I was riding one night on the streets. Since I was going upwards to 23 mph during late night, I had a constant fear of being hit by a car or falling into a pothole if I wasn’t careful.
Design Process
Target Audience and Needs
Before I made my initial sketches, I paused to think about the actual problem needed to be solved and determined some general requirements. I intended this attachment to be used by people who ride boards as a means of transportation. The attachment should provide at minimum a headlight for riding while still being unobtrusive, durable, and aesthetic. On a usability standpoint, I wanted the attachment to be intuitive, easy to set up, and modular.
Sketches
My idea was to screw the mount directly on top of the trucks - these are the metal pieces that connect the wheels to the board. The reason was that trucks have standard sizing pattern among all boards, while the decks did not.
I wanted the base to utilize the existing screws used for the trucks so people would only require the attachment and a screwdriver to install.
I also decided that having a detachable, modular add-on would be beneficial for foot room and allow for multiple attachment functions.
Prototype Iteration #1
For the first iteration, I created a proof of concept using cardboard. I believed that the slide-to-connect mechanism posed the most potential issues, especially the chance of the add-on unloosening itself. The base (left) had to secure the add-on (right) in spot despite vigorous vibrations.
Though the friction fit worked well, I knew that CADing the pieces would be difficult in regards to tolerancing. The cardboard add-on also had a circular piece connected to a rod to represent the swiveling light source.
Prototype Iteration #2
For the second iteration, I was able to 3D print a model I made in SOLIDWORKS. Upon research, I learned that longboard trucks had two different mounting patterns depending on its manufacturing date. To compensate for the varying screw hole locations, I decided to add slots in the back of the base.
When I tested the sliding mechanism, I quickly realized that 1) there were too many support within the base slot and 2) the two pieces did not fit, partly due to poor support removal.
Prototype Iteration #3
In the third iteration, I decided to reduce the overhangs in the slot to limit the supports needed. A lot of the previous design’s bulk was removed to reduce cost and keeping the style minimalistic. Two holes were put near the end corners of the slot to aid in the removal of supports. Lastly, an arrow was engraved into the add-on piece of the attachment; classmates often confused the insert direction during testing, so this removed the ambiguity.
The overall prototype mounted well on my longboard and successfully achieved a secure, friction fit. Since this project was limited to two weeks, I did not get to incorporate any wires or LEDs to imitate the light source.
Challenges
‣ Modelling to achieve a friction fit between the base and add-on
‣ Designing in a 3D printing-friendly way, reducing need for support removal
‣ Limited budget and time to experiment with electronics
Lessons and Improvements
‣ Determining product’s target audience and needs
‣ Understanding importance of tolerance in achieving friction fit
‣ Using an FDM 3D printer for prototyping
‣ Visualizing ideas via sketching
Fun fact: I own three longboards (one is an electric “Wowgo 2S”). I started longboarding ever since my first snowboarding experience at Mt. Snow in Vermont.


